Exclusive Deals Await!

Subscribe now and get early access to special discounts, new product launches, and exclusive 3D printing tips. Don’t miss out!
Pre-owned 3D Printers
⭐️ 328 Frenzy

Loja

Procurar

País/região

País

USD

Conta

Conta

Conecte-se

Carrinho

Cardápio
Conta
Estados Unidos (USD $)

Print More, Save More!

Huge Discounts Up to 50% Off – Limited-Time Deals!

Sidewinder X4 PRO S1
Sidewinder X4 Plus S1
Sidewinder X4 Plus
Sidewinder X4 Plus
Sidewinder X4 PRO
Sidewinder X4 PRO
Sidewinder X3 Pro
Sidewinder X3 Pro
Sidewinder X3 Plus
Sidewinder X3 Plus
Sidewinder X2 (Discontinued)
PLA 3D Printer Filament 1.75mm 1KG
PLA 3D Printer Filament 1.75mm 2KG
PLA 3D Printer Filament 1.75mm 5KG
PLA 3D Printer Filament 1.75mm 10KG
Hotend Assembly for SW-X3/ SW-X4 2pcs
Brass Nozzle Kit For SW-X3/ SW-X4
Original 16 PCS Brass Nozzle Kit/0.2+0.4+0.6+0.8+1.0mm For SW-X3/ SW-X4
Hotend Kit For SW-X4 with Heating Block and 3010 Cooling Fan
Dual Gear Direct Drive Extruder Assembly for SW-X4
Hardened Steel Nozzle Kit 0.4mm For SW-X4/ SW-X3/ SW-X2
Hardened Steel Nozzle Kit 6 PCS  /0.4*2 +0.6*2 +0.8*2 For SW-X3/ SW-X4
Hardened Steel Nozzle Kit 6 PCS /0.4*2 +0.6*2 +0.8*2 For SW-X3/ SW-X4
X4 New hot end assembly (0.4mm hardened steel nozzle)
Cleaning nozzle silicone pad for X4
Artillery 3D Printer Camera for X4
X4 Nozzle Adapter Plate
Textured Dual Sided Flexi Magnetic PEI Plate For SW-X4PLUS & SW-X3PLUS
Hotend Assembly for SW-X3/ SW-X4 2pcs
Brass Nozzle Kit For SW-X3/ SW-X4
Dual Gear Direct Drive Extruder Assembly for SW-X3
Original 16 PCS Brass Nozzle Kit/0.2+0.4+0.6+0.8+1.0mm For SW-X3/ SW-X4
Hotend Kit For SW-X3 with Heating Block and 2510 Cooling Fan
Hardened Steel Nozzle Kit 0.4mm For SW-X4/ SW-X3/ SW-X2
Hardened Steel Nozzle Kit 6 PCS  /0.4*2 +0.6*2 +0.8*2 For SW-X3/ SW-X4
Hardened Steel Nozzle Kit 6 PCS /0.4*2 +0.6*2 +0.8*2 For SW-X3/ SW-X4
Hotend Silicone Cover 5pcs for SW-X3
Mainboard For SW-X3 PRO / X3 Plus
Ribbon Cable for X3 Pro / X3 Plus
Textured Dual Sided Flexi Magnetic PEI Plate For SW-X4PLUS & SW-X3PLUS
Textured Dual Sided Flexi Magnetic PEI Plate For SW-X3PRO / SW-X4PRO
SW-X2 & Genius Pro Full Metal Extruder
3D ABL automatic leveling assembly
PEI Flexible Steel Pei Sheet
32bit Original Mainboards Gen-L V1.0
LCD Screen And TFT Board Components Touch Screen Kit for Sidewinder X2 And Genius Pro 3D Printer
Hardened Steel Nozzle Kit 0.4mm For SW-X4/ SW-X3/ SW-X2
Stepper Motor Driver With Radiator For Artillery 3D Printers
Drive FS31W01 Heat Sink Driver for Artillery 3D printer 's motherboard SW-X1/X2 Genius Pro Hornet /2pcs
Genius Pro/SW-X2 Printer original Extruder
Thermistor For X1/X2/Genius/GeniusPro
Artillery 3d Printer Stepper Motor Size 24mm 40mm 48mm Original Motors
3D Printer Stepper Motor 24mm Size 40mm 48mm Original Motors For SW-X1 / Genius / Hornet / X2 / Pro
Silicone Heated Bed Kit + Flat Cable Connection X2 Insulation Cotton
Socket power switch for X2/X3/X4

Artillery Sidewinder X2 Review --- David Behrens

Artillery Sidewinder X2 Review

Original blog link: David Behrens

Hey everyone, it’s been quite a while since I’ve done a printer review. We’ve been in the process of moving house (after living in a shed for 2 months) and oh it has been a crazy time!

Artillery makes all of my favourite printers that I own, so I am very excited that they wanted to send me their new unit to do a review on. Their machines are generally very fell finished off, and come out of the box ready to print with only a minor assembly.

The other thing I like about artillery printers is that they generally require no modifications, they come with directdrive titan extruders, have silent steppers and mainboard and all the jazz to go with it!

Unboxing

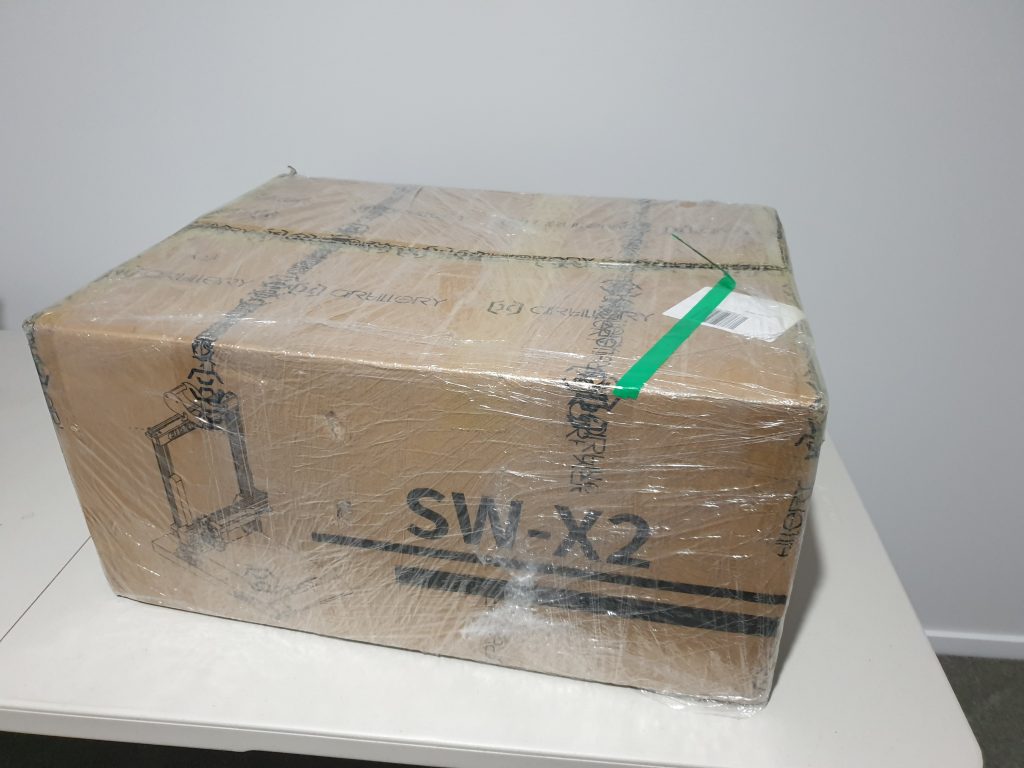
Okay let’s get to unboxing this printer, it came straight from Artillery, and the box is pretty much fully intact and even plastic wrapped which is nice since it was raining when the printer got delivered.

After removing the plastic wrap:

The inside of the box looks basically identical to the Sidewinder X1, which makes sense.. If it aint broke don’t fix it hey! The structure of the printer is basically the same so no need to change the packaging layout.

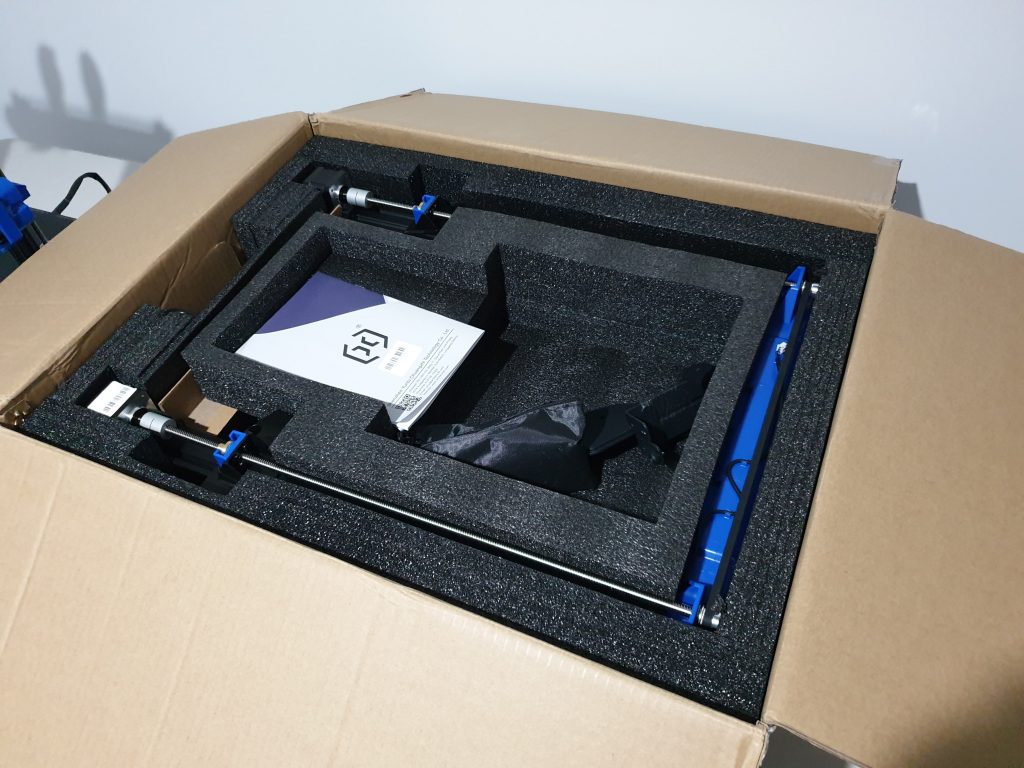
After removing the little container foam in the top the bed is uncovered

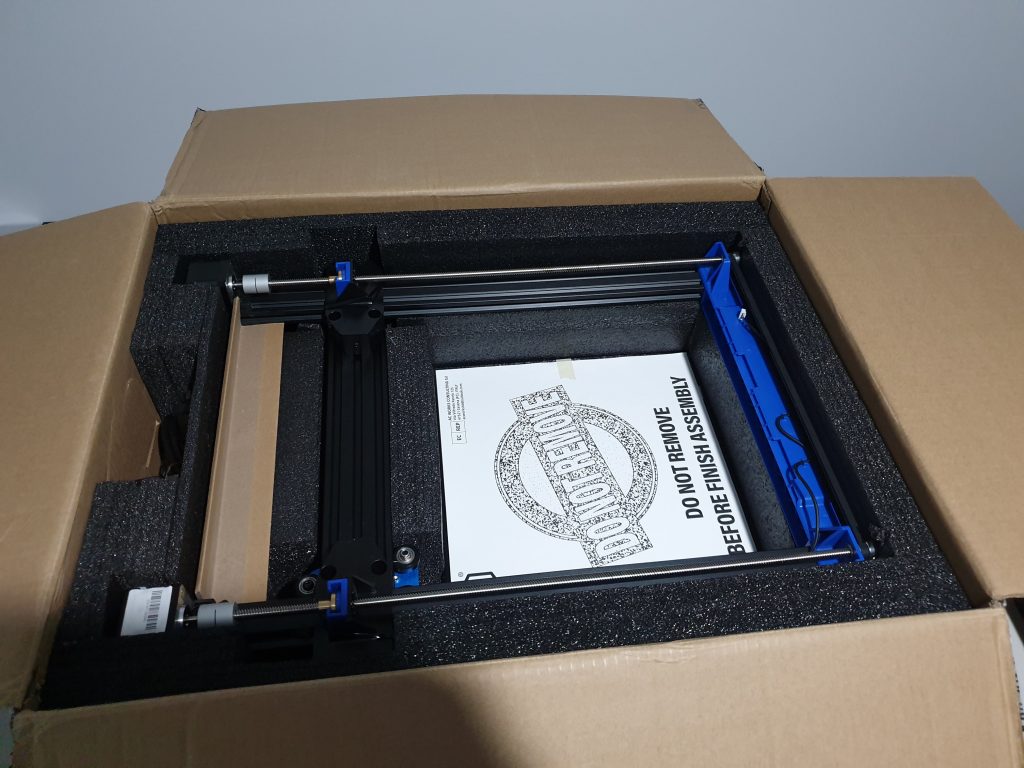
Then I pulled the gantry out and all that remains is the base of the printer

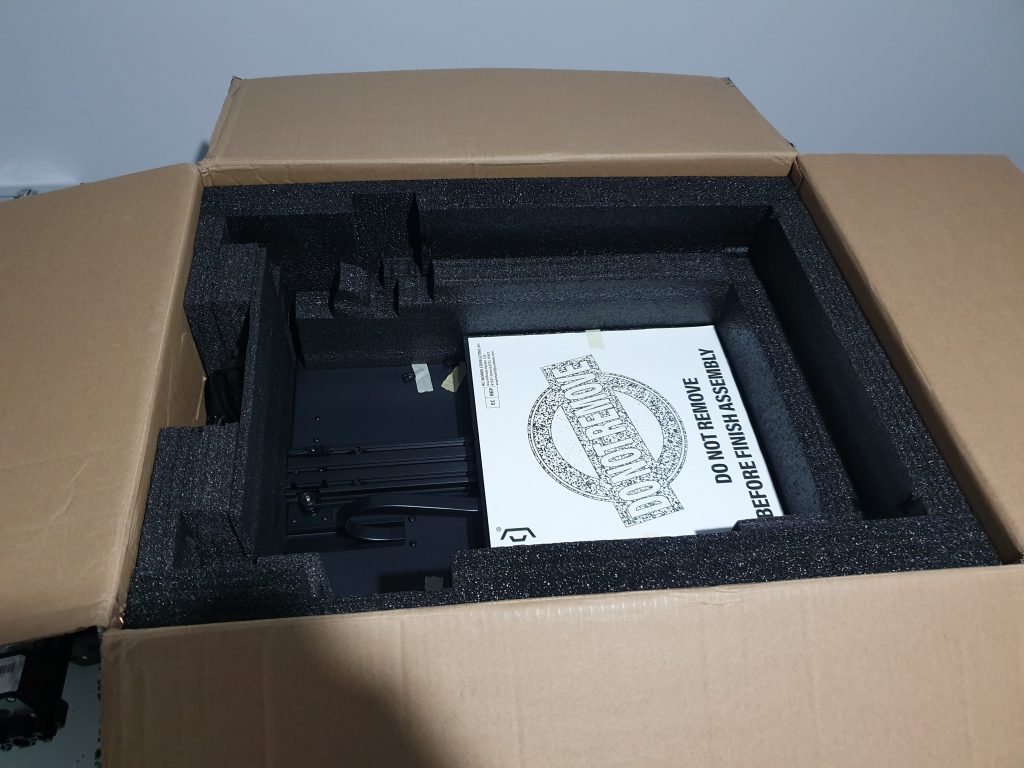
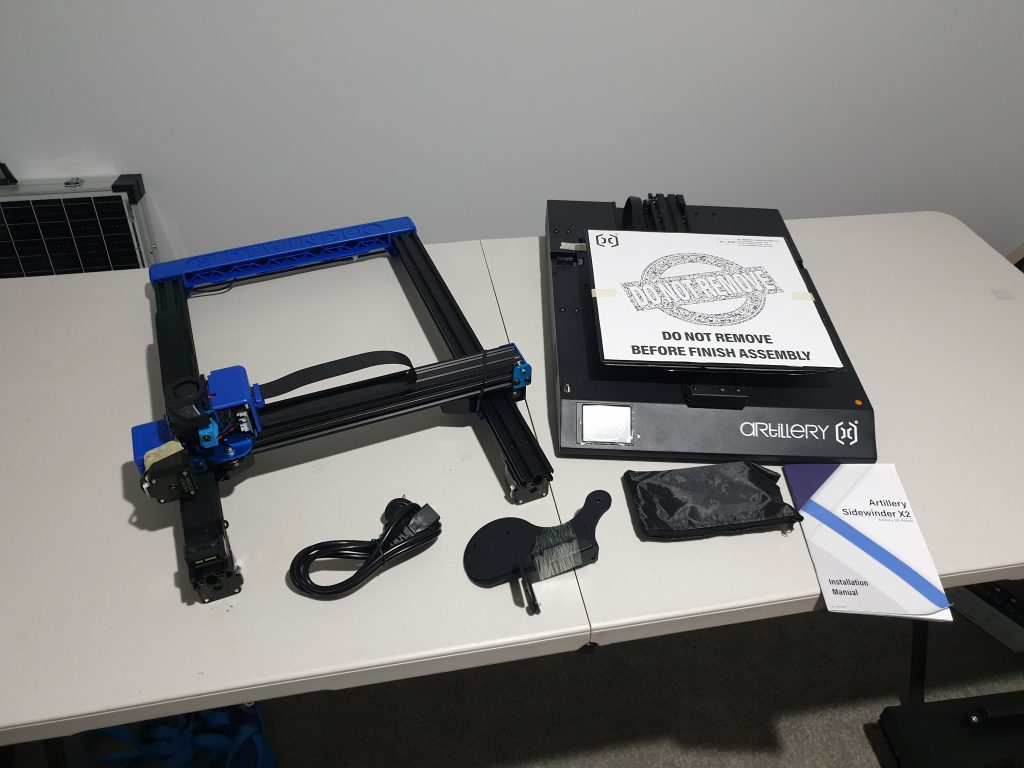
Here is everything from the box on the bench, not many parts which means this assembly will be a BREEZE!


MANUAL

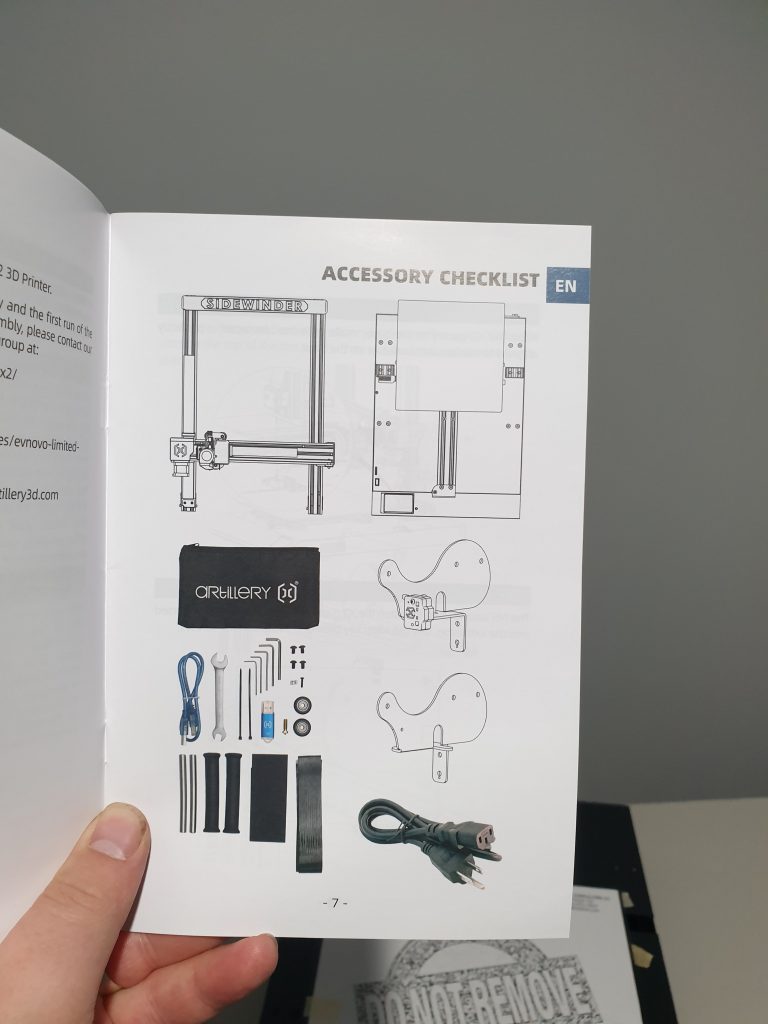
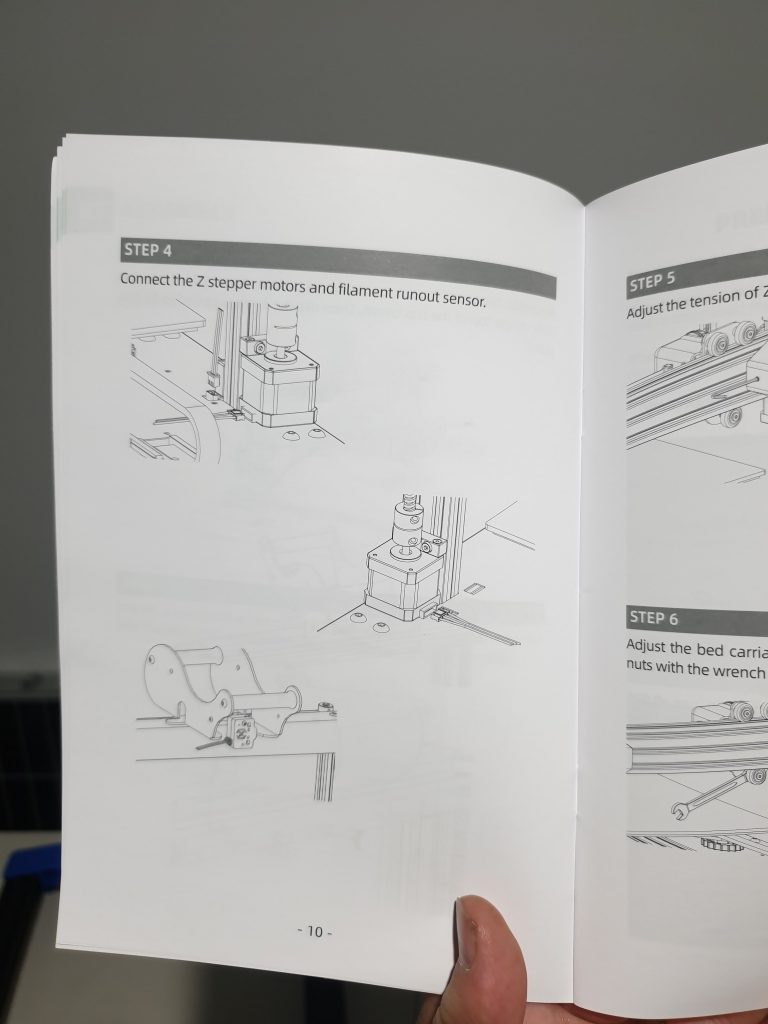
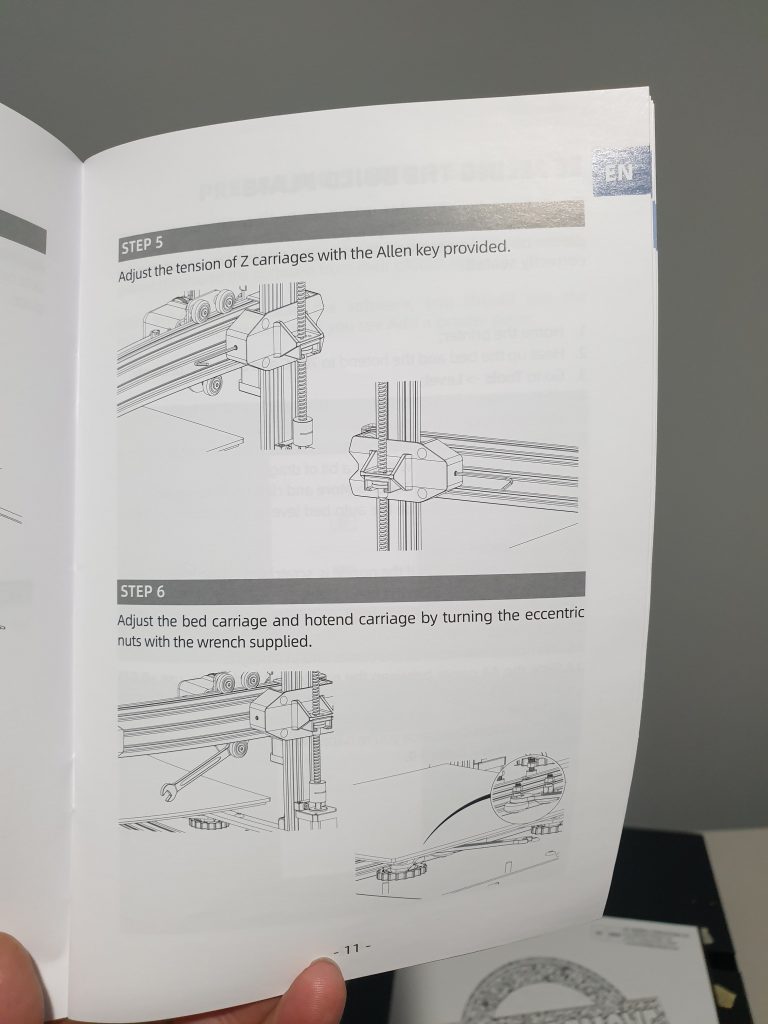
Next up we will take a look at the manual, which is generally another of artillerys strong points.


Assembly

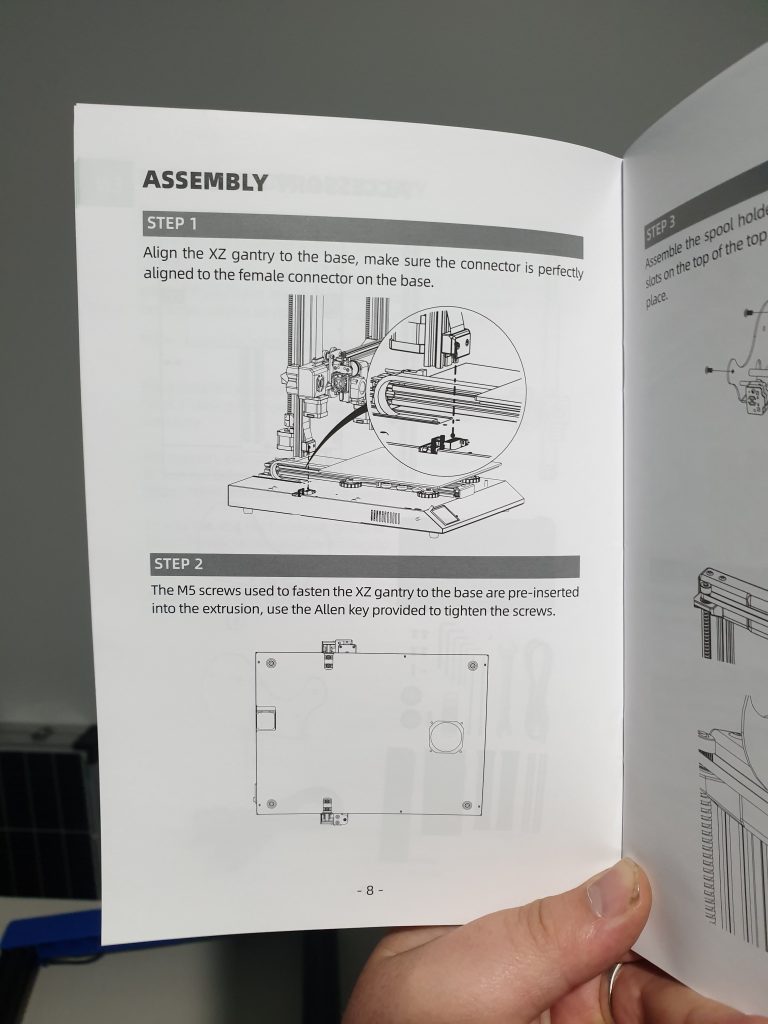
First order of call for the assembly was attach the gantry, this can be a little awkward generally, but if you put the base on its side and attach it all laying on its side it is pretty easy. Here’s a pic with the gantry attached and the 4x M5 screws tightened.

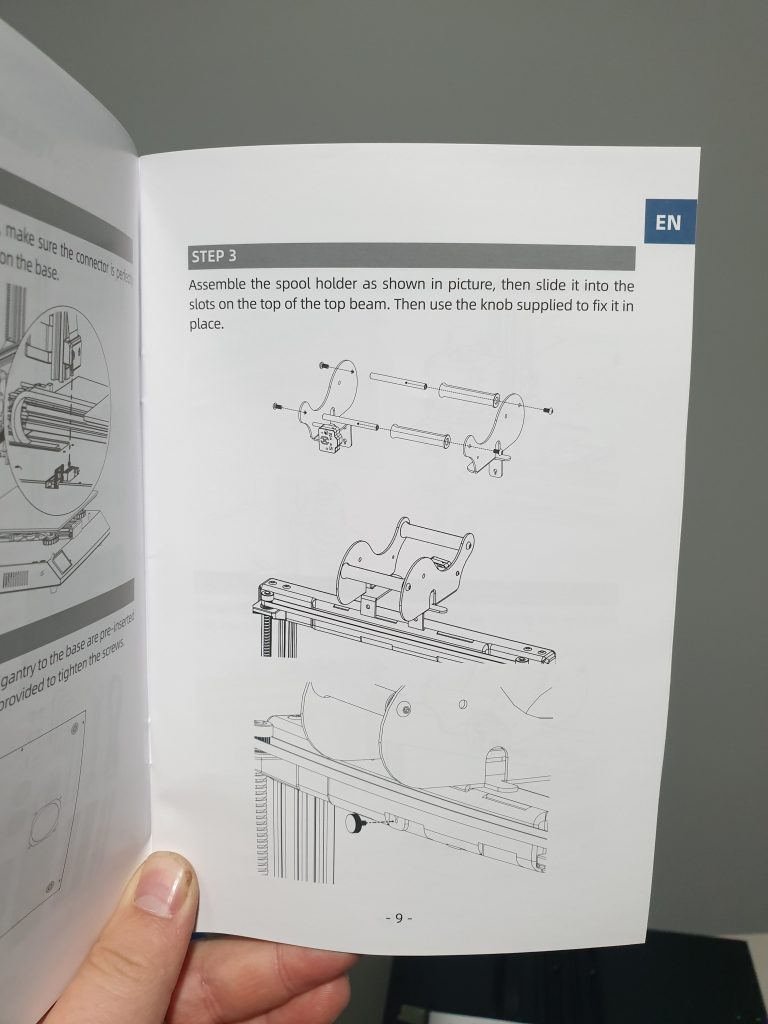
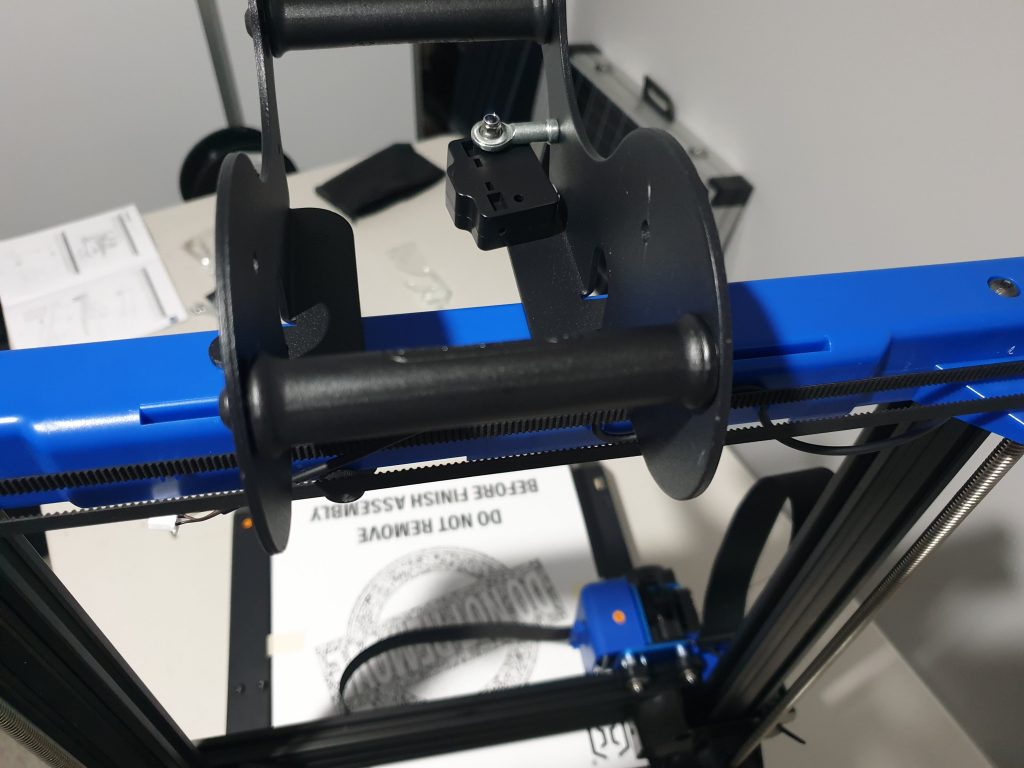
Next up was the spool holder, which basically just slips in and then you put in a little screw to hold it in place


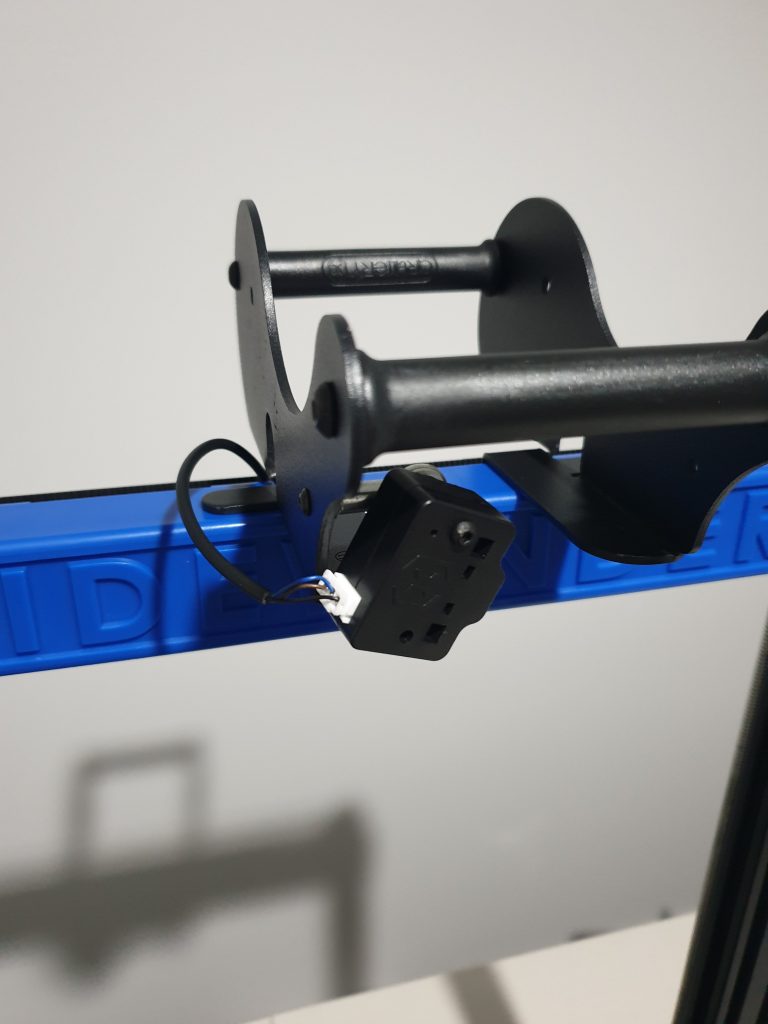
Plugged in the filament runout sensor

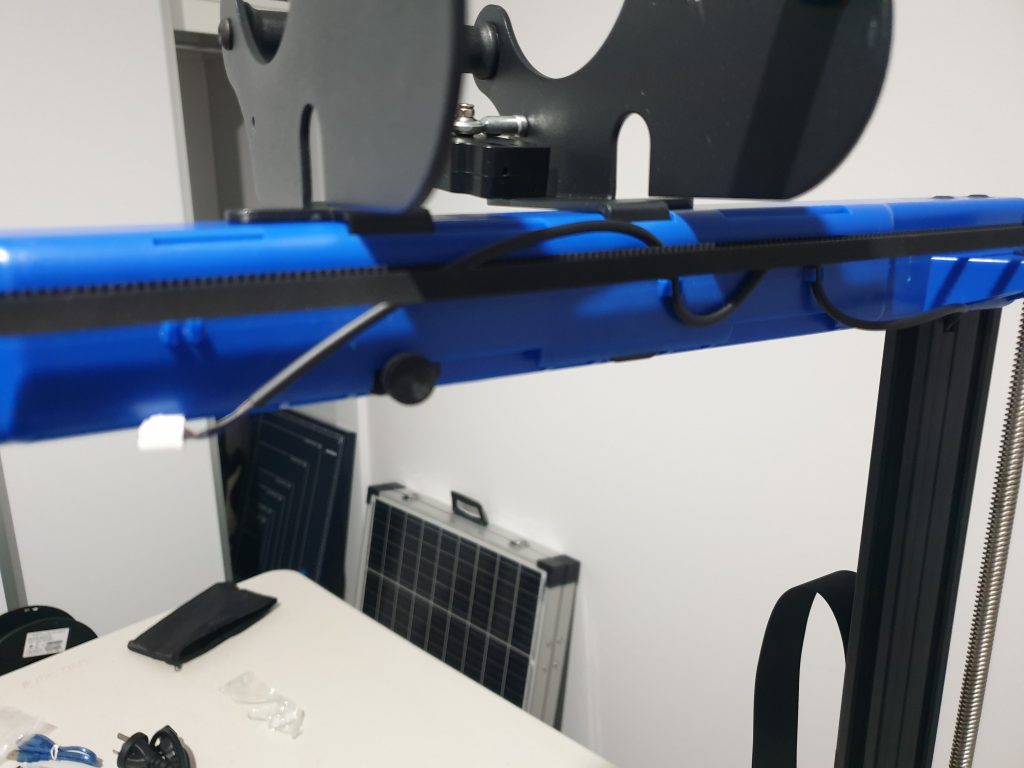
Next up was to plug in the rest of the cables as per the manual. They are all pre-wired and in the right place, so it’s pretty easy to do.

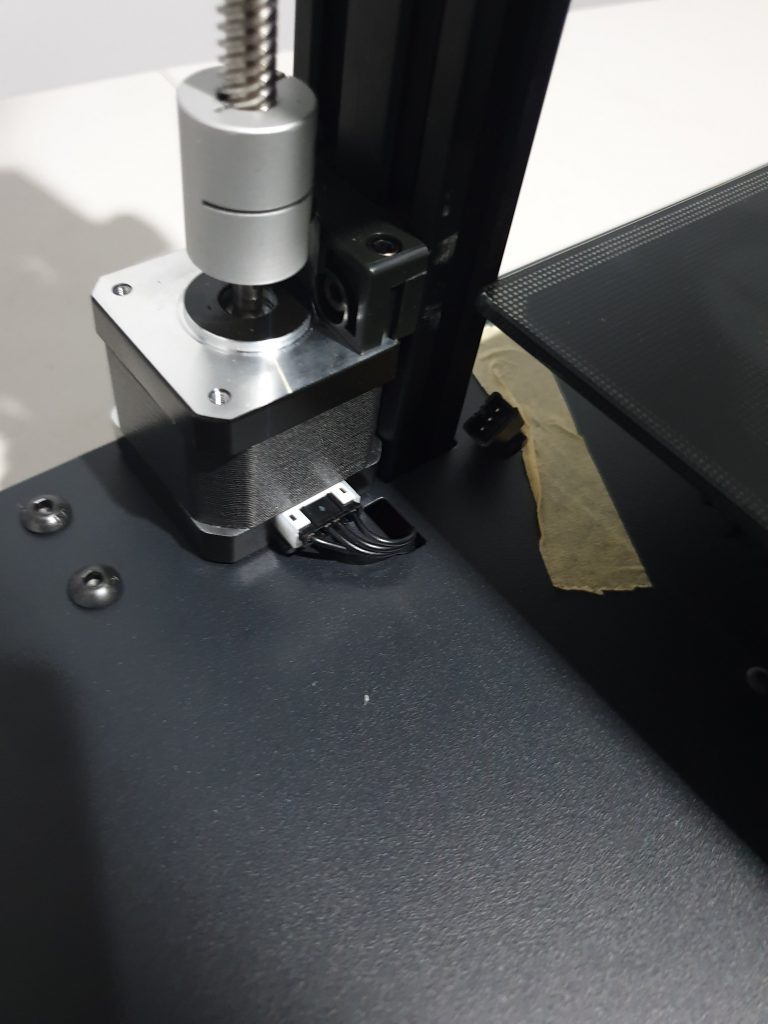
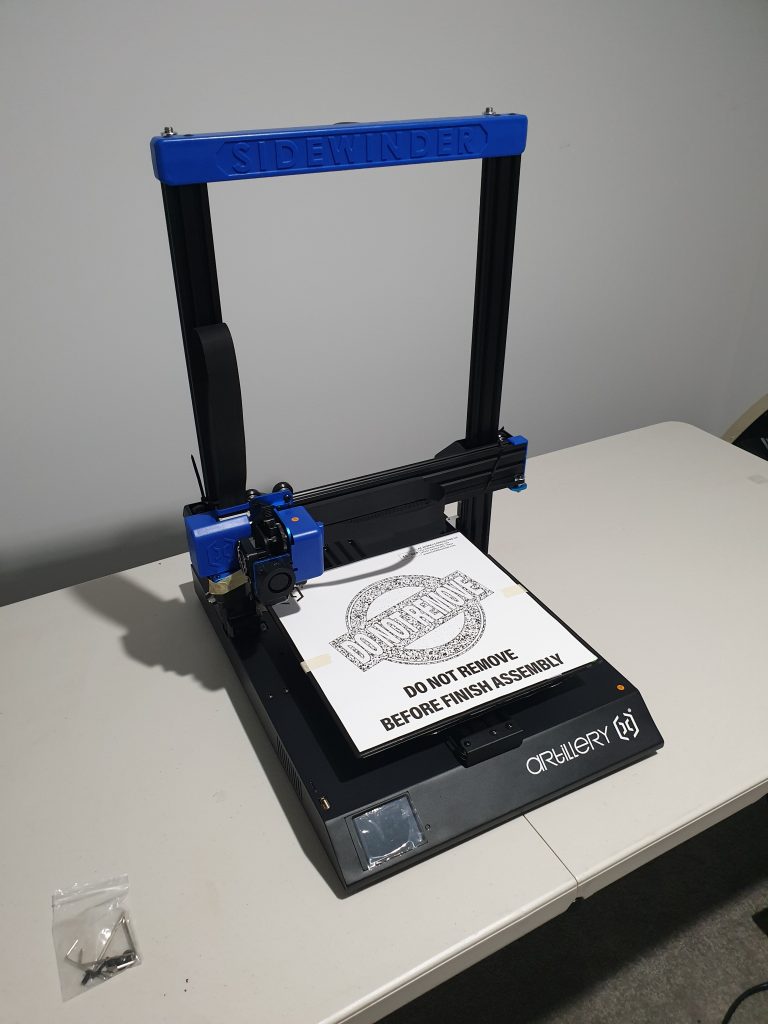
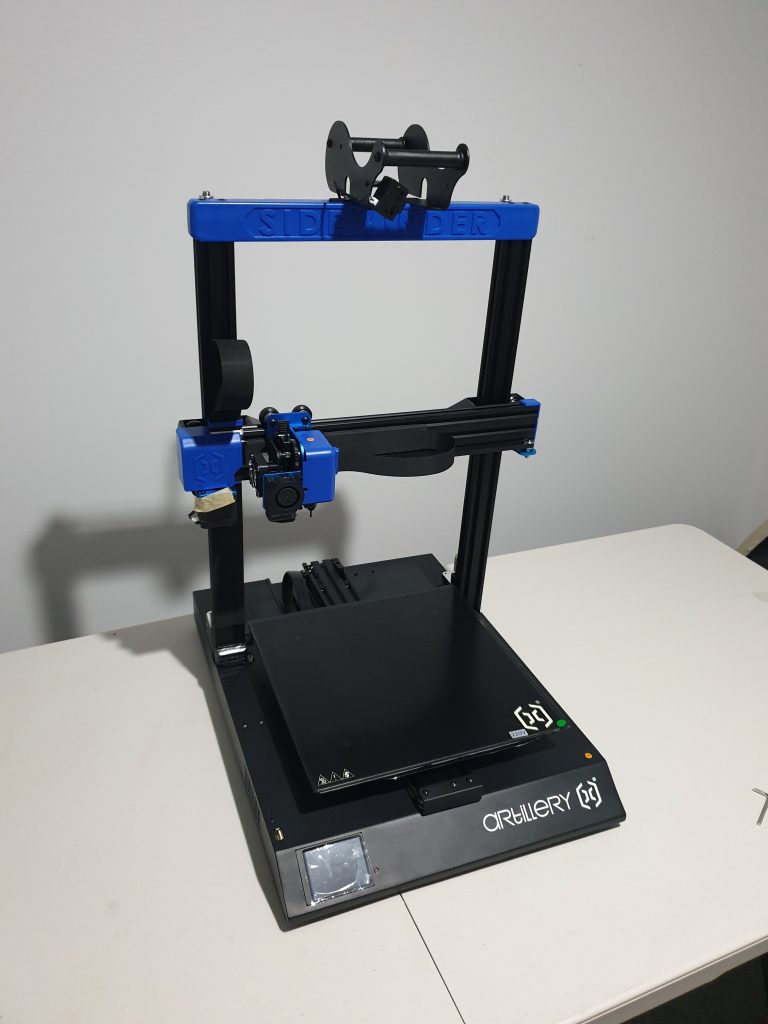
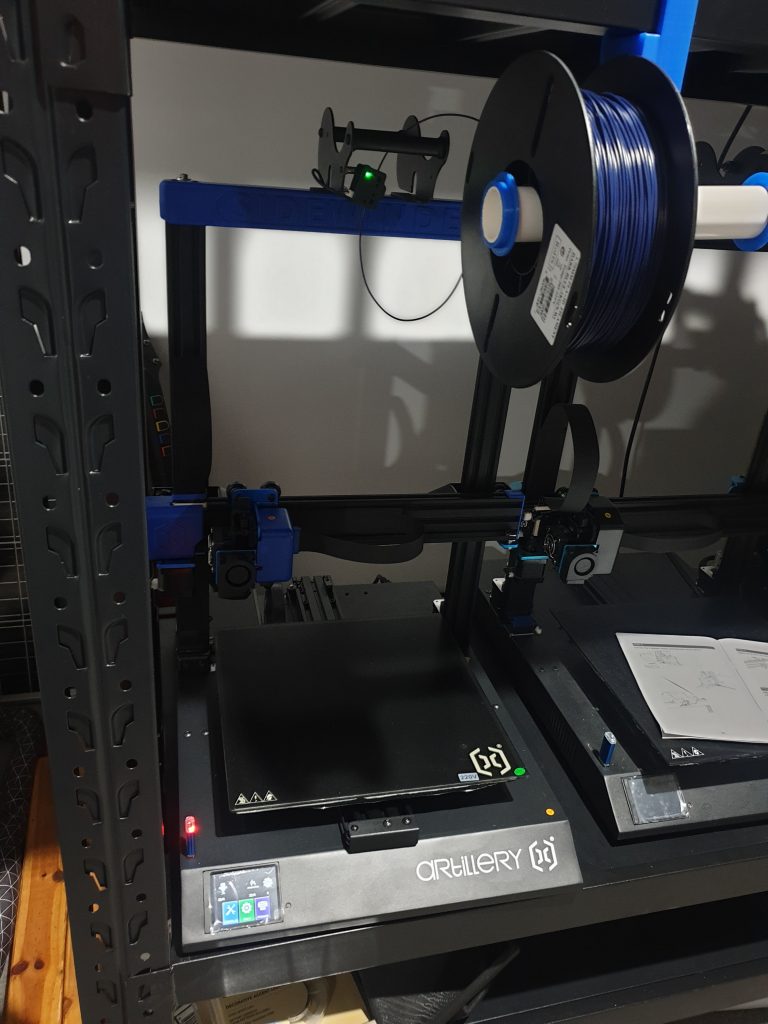
And here is the assembled printer, it is a nice looking printer if I may say so. It’s basically just a bigger Genius with some newer features which is nice.

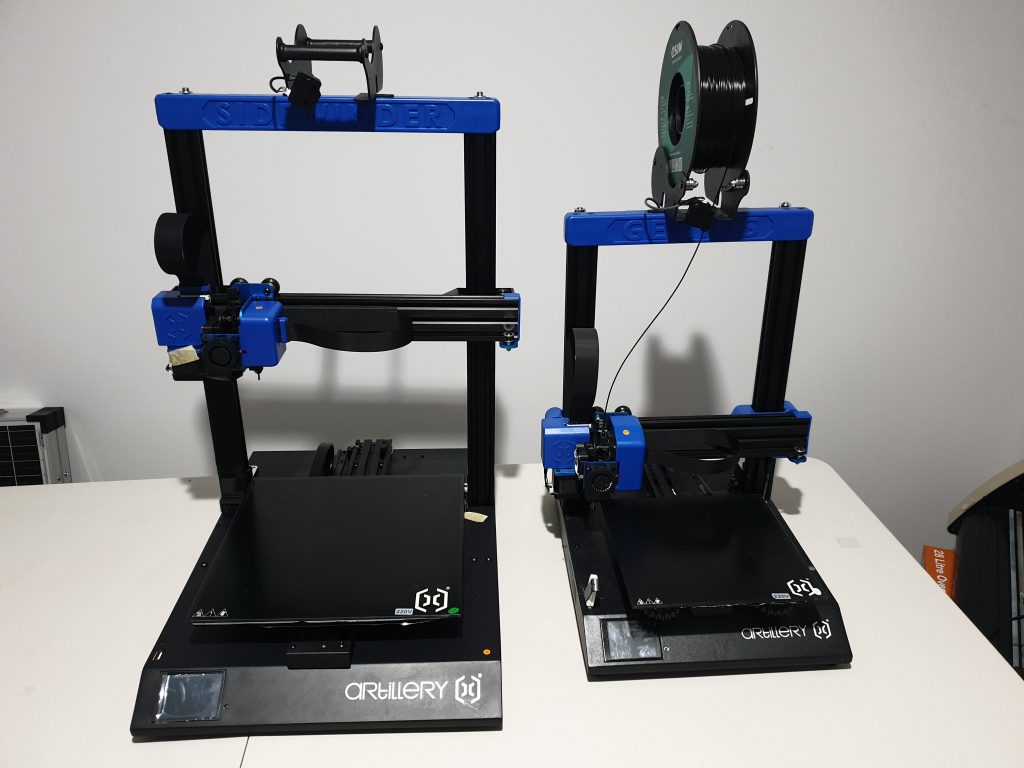
Here it is next to the genius, a lot of similarities!!

First Print

I am going to do a test print to show how this machine prints, so I put it on my racking system in my print room, Here I don’t run the filament on the printers mounts but instead on some printed mounts that hang off of my racking system.

In the past I have printed my own design of roller so that I can feed filament from my mounts through the runout sensor on artillery printers, but this new spool holder is designed in a way that I don’t have to which is neat!

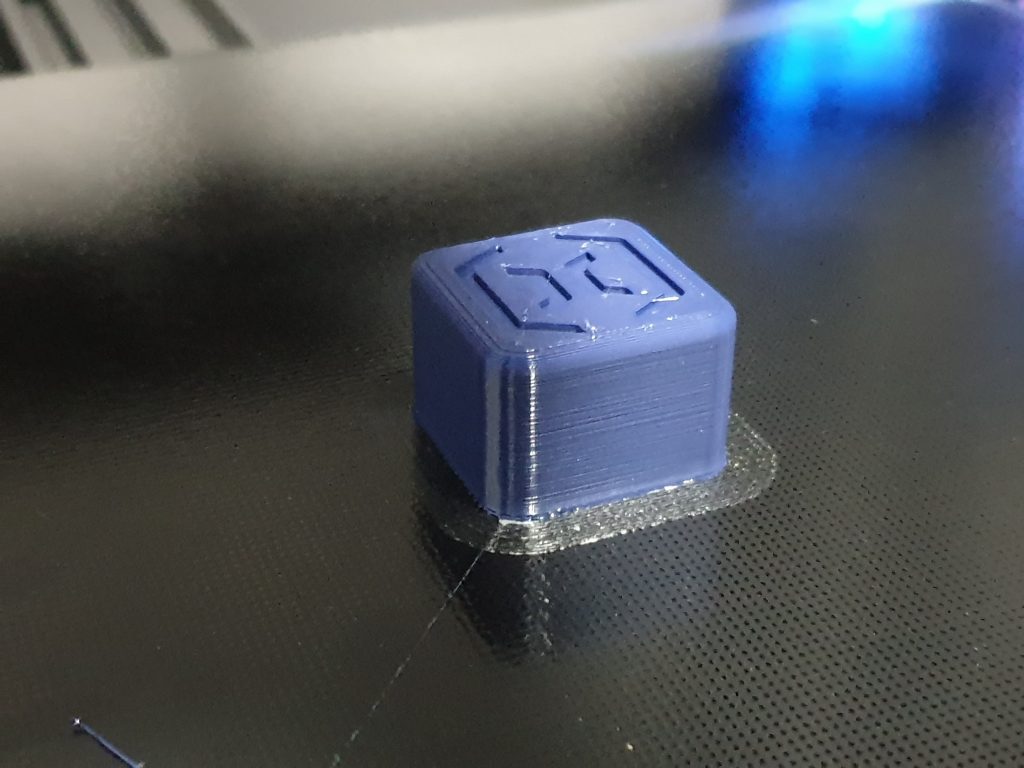
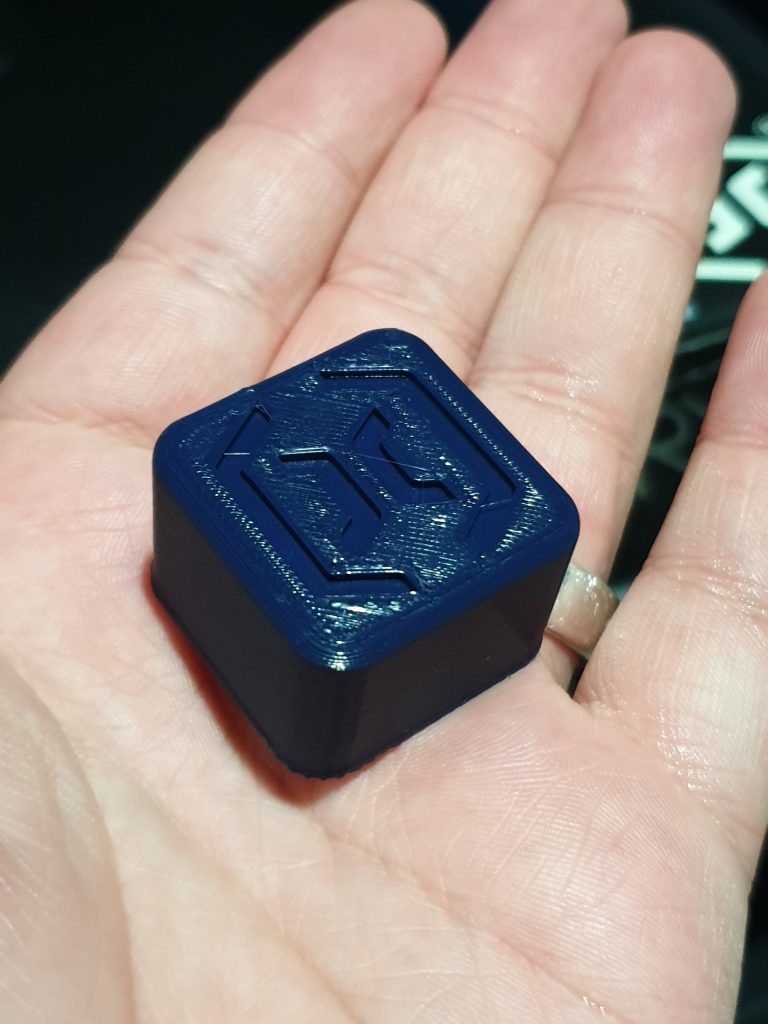
I went to start the print, but the normal artillery test print wasn’t on the USB, possibly because this is an early review unit. So I pulled the USB from my Sidewinder X1 since all the slicer settings should be the same and did the test print off of that USB using some dark Blue ESun PLA+.

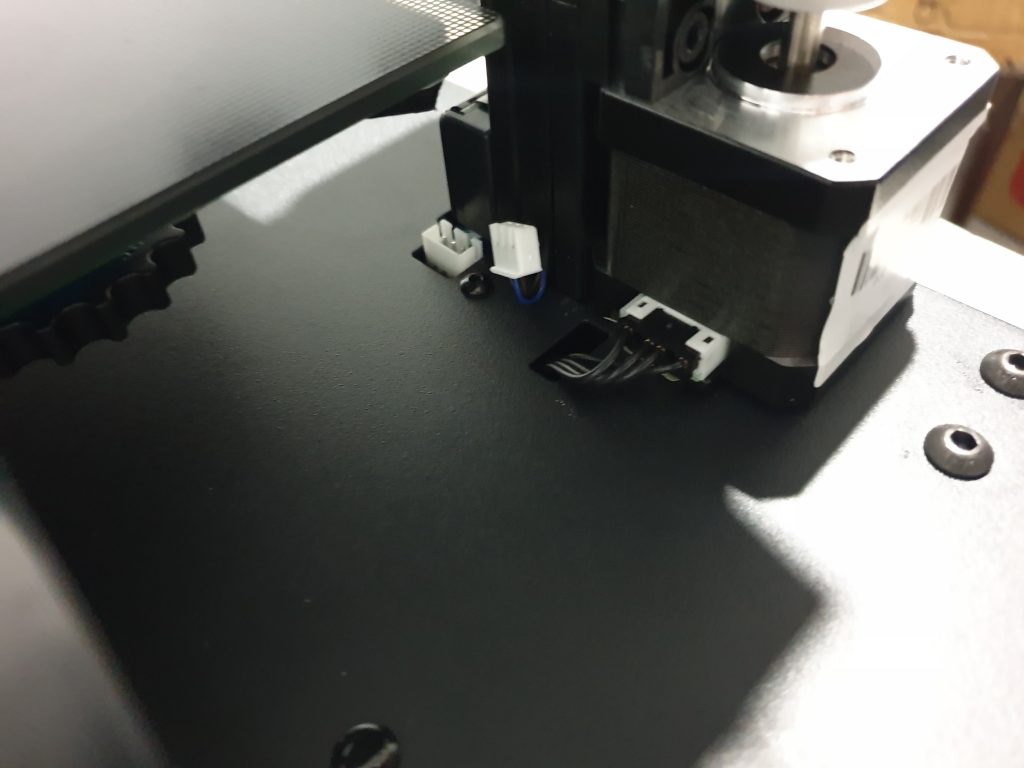
During the print I noticed only one issue, and that was that the X axis gear was rubbing on the plastic cover. I just pulled the cover out a bit with my finger and it stopped so that’s good.

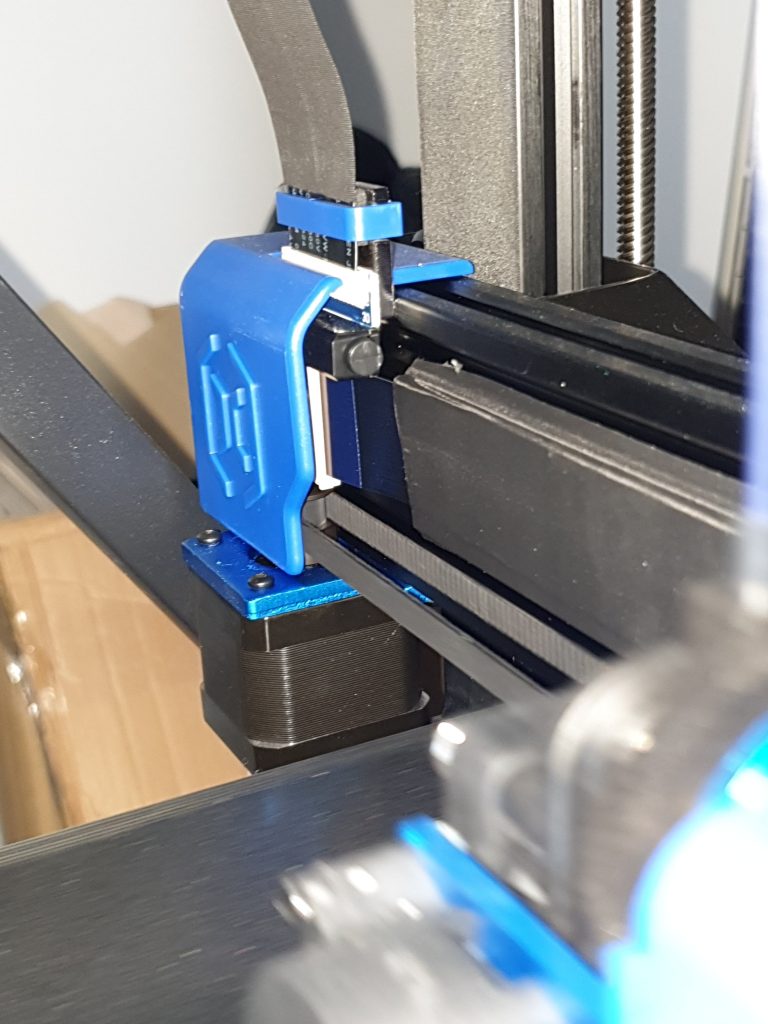
Here you can see the gear that sits very close to the cover.

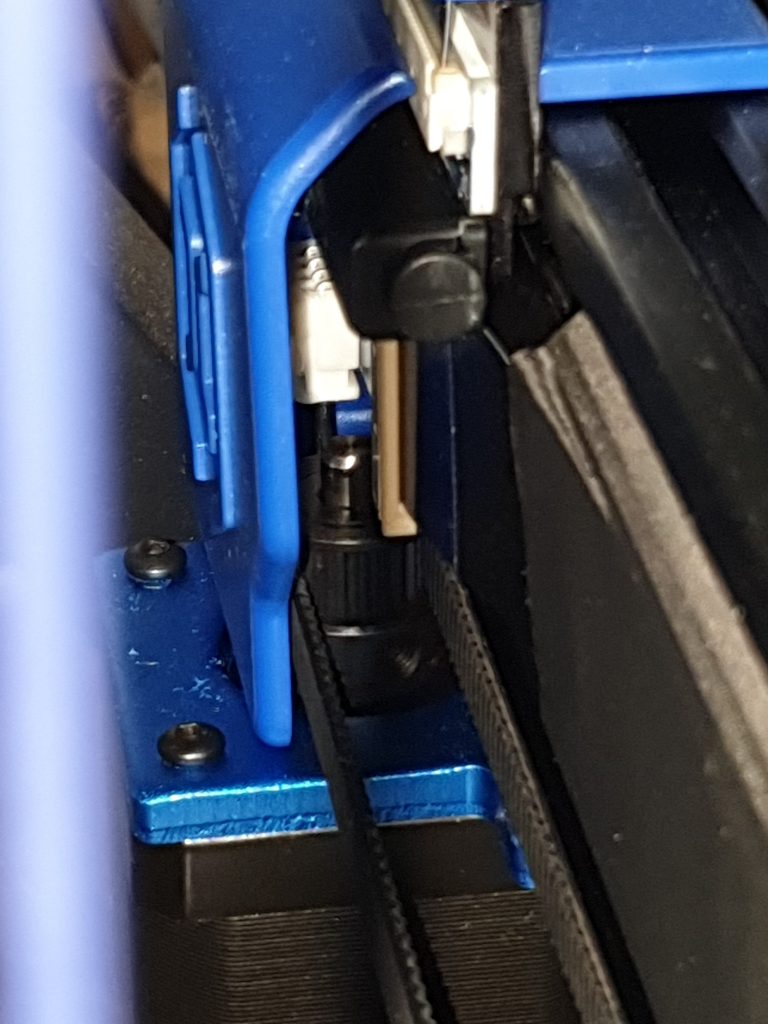
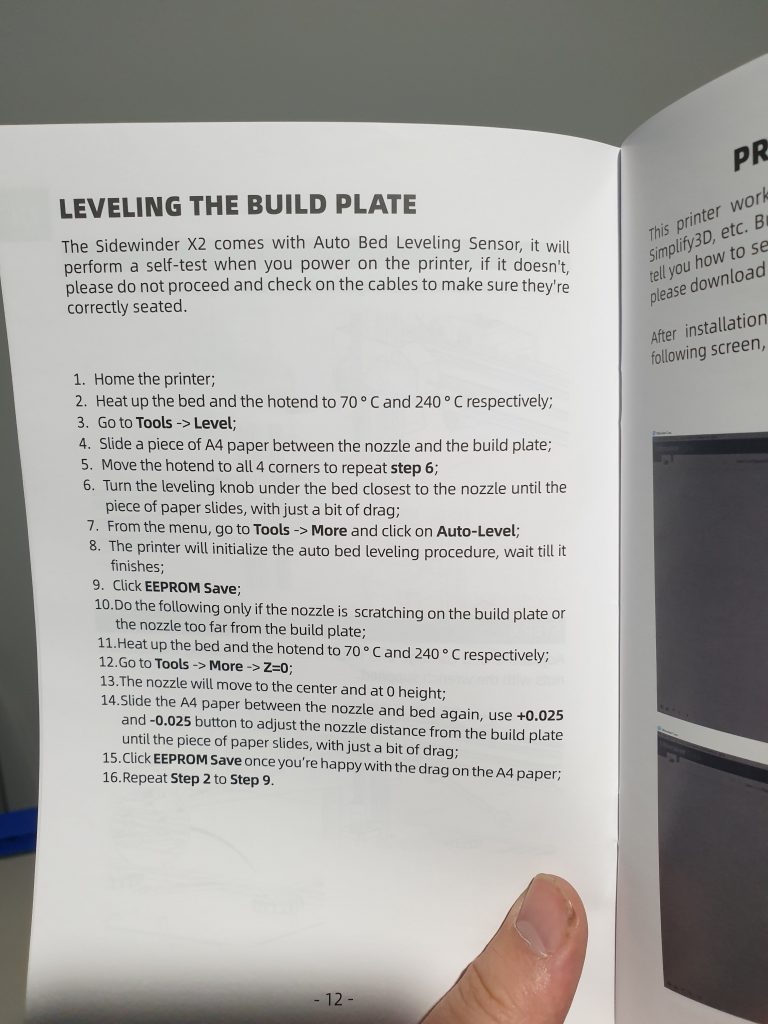
One of the cool included features of this printer is the auto bed levelling, in this picture you can see the sensor, which looks like a black version of a BL-Touch

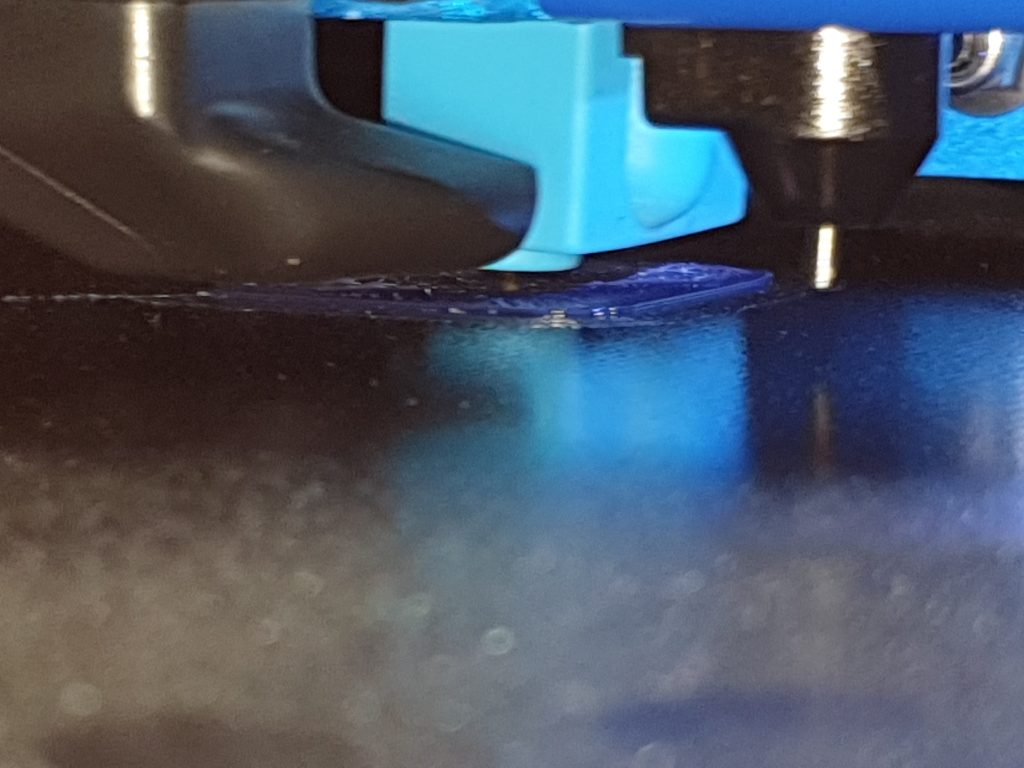
And here is the finished test print. For the first print after unpacking this printer and doing basically no tuning, I think that’s a pretty nice result.

FInal Thoughts

This printer held up Artillerys reputation of making a refined printer, and it’s good to see they are still working on new designs and making improvements here and there. Their previous generation of printers work completely fine and they could have just kept selling them, so it’s good to see them wanting to innovate and improve things.

Should you buy this printer? If you are looking for a premium printer with all the bells and whistles, and in a 300×300 format then I’d definitely have this printer at the top of my list! In the past I have recommended the Artillery Genius and Sidewinder X1 to many, and I think the sidewinder X2 and the also newly our Genius V2 will replace this recommendation.


Now that I am back in the review game (I have another printer at home to build and review) hopefully I can get my hands on a Genius V2!

Let me know what you think of this printer.

Dave

!